Do it yourself Acrylic Nails Tutorial for Beginners
At some point in their lives, everyone was a newbie at something. Nobody becomes an expert by accident. If you want to be an experienced nail artist, you must begin as a beginner. That is where you require our assistance. This post is all about novice nail art.
Aren't acrylic nails just stunning? They are sturdy, lovely, and dependable, and with appropriate care, you may enjoy them for weeks. So what type of equipment will you need if you want to manicure your own nails at home? I've documented everything for you here.
- You may choose to purchase the supplies separately if you want more control over the look of your acrylics.
What you will need
Acrylic nail tips and nail tip glue. The tips are normally rather lengthy, allowing you to cut and file them to the desired shape and size.
Acrylic liquid and acrylic powder. Acrylic nails are made by combining these ingredients, avoid MMA (Methyl methacrylate) monomers in favor of EMA (Ethyl Methacrylate). MMA is too hard for the nails.
Acrylic bowl and acrylic brush. You'll need these items to make the acrylic and apply it.
Acrylic nail clippers and files. Regular clippers and files aren't as effective on acrylic nails as acrylic clippers and nails.
Cuticle pusher tool. A cuticle pusher is a basic nail instrument used in manicures and pedicures. It helps your nails grow stronger by pushing the skin from your cuticles back and away from your nails.
Lint-free wipes. They're great for cleaning brushes and equipment, as well as preparing the nails before applying polish.
1 Remove Old Nail Polish
Acrylic should be applied to clean nails, so remove any previous polish before beginning. To remove it, use an acetone-based, oil-free nail polish remover. If you need to remove old artificial nails or gels, immerse them in pure acetone. Do not peel them off, peeling them off may cause damage to your own nail, making it much thinner. Tips
- Nail polish remover can be harsh on your nails and skin, so only use as directed and not too frequently.
- use a cotton ball or a presoaked nail paint removal pad, in a well-ventilated area.
- After removing nail polish, moisturize with lotion.
- Use nail polish remover only on the fingernails.
2 Trim Those Nails
Cut your real nails to a short, even, controllable length with nail scissors or nail clippers to offer a nice basis for the acrylic. A few millimetres are ideal for gluing the tips at the end where your normal smile line is. Even them out using a nail file. Tips
- Cut your nails straight across, then gently round the tips.
- Filing back and forth can weaken your nails, so always file in the same direction.
3. Remove the shine of the natural nails.
Maintain properly trimmed and clean fingernails to minimize raised bumps on your acrylic nails, which might cause it to break out prematurely. You also want to be as careful as possible to avoid injuring your fingertips, which might make painting the margins more difficult. For better results use a nail file or buffing block.
4. Push Back Your Cuticles
You want the acrylic to be adhered to your natural nails, not your skin. Push back your cuticles or trim them to keep them out of the way while you give yourself a manicure. Use a cuticle pusher. Tips
- Cuticles are simpler to push back when they are soft and moist rather than dry. Before using the cuticle pusher, soak your fingers in warm water for a few minutes. As an alternative you can massage avocado oil or cuticle oil into your cuticles for 2-3 minutes.
- Avoid pushing too hard or scraping your nails.
- If you have any remaining hangnails or skin bits, use a cuticle nipper to remove them.
- Just the transparent, dead skin should be trimmed. Avoid cutting the skin near the base of your nail.
5. Apply Nail Primer
Nail primer eliminates any lingering moisture and oils from your nails, preparing them for acrylic. Nail primers have three purposes: they wash, dry, and balance the PH of the nails. This is one of the most crucial steps for good adherence. If there is any oil on your nails, the acrylic will not adhere. Tips
- Apply acetone to the surface of your nails using a lint-free paper towel.
- If you use nail primer with acid be careful not to get any on your face.
- On each nail, apply a thin, equal coating of nail primer. Remove any excess primer from your brush and gently tap it onto the center of your nail, allowing it to spread on its own.
- Let the primer to completely dry. This should just take a few minutes.
6. Apply the tips
The fake nail tips come in a variety of sizes and styles. Most of them are large, so if you have wide fingernails, you'll most certainly locate your nail size. If you have really slender fingernails, you should seek for slimmer nails, and if you can't locate one, simply choose one that's near and file it down. Be careful to do this as gently as possible and with as little glue as possible. You don't want the adhesive to run down your fingers.
Tips
- If you apply the nail tip incorrectly, soak it in water for a few minutes to remove it before drying your nail and reapplying the nail tip.
- With a small manicure nail brush, apply acetone to the seam of the tip. This softens the nail tip and allows for easier blending.
- Acrylic nails aren't a one-and-done manicure; because nails grow, they require maintenance. Fills should be done every two weeks, according to specialists, not only to keep them looking excellent but also to maintain the nail healthy.
7. Mix the acrylic liquid with the acrylic powder
Place some powder into a separate dish and the liquid acrylic into the acrylic dish. Acrylic is a powerful chemical that emits harmful fumes, so make sure you're operating in a well-ventilated environment. Plunge your brush into the acrylic liquid until it is completely saturated, then press it on a surface to remove extra liquid.
Tips
- The little ball of acrylic mixture should be damp but not sopping wet.
- Have paper towels on available in case you need to remove excess wetness.
8. Apply the acrylic mixture to your nails
Begin at the "smile line," which is the acrylic tip's bottom edge. Brush the acrylic ball down to the tip after flattening it over the line. Distribute it swiftly and smoothly to provide a seamless transition between your natural nail and the acrylic tip. Place a second ball of acrylic near, but not too close to, your cuticle. Try to slide the acrylic closer to the cuticle without touching it, and then brush the acrylic down to produce a seamless transition.
Tips
- Use short single strokes in the same direction to avoid lumps in the acrylic.
- Do not use acrylic on your cuticles.
- Between strokes, clean your brush with a paper towel.
- apply thin coats, the thicker the layer, the longer it'll likely take to dry.
9. Give the acrylic time to dry
It should only take approximately 10 minutes for the acrylic to harden entirely. Tap the surface of your nail with the handle of your acrylic brush to see whether it works. It's ready for the following phase if it produces a clicking sound.
Tips
- give each layer time to dry before applying the next layer.
- Experiment with chilling temps on your nails, cold air can aid in the drying of nail paint.
- choose a lighter color, because of the pigment, darker hues may take longer.
- use quick dry drop, quick-dry drops are essential for reducing drying time. They may absorb the polish's solvents without degrading the color itself.
- invest in a nail fan, it could significantly reduce the drying time.
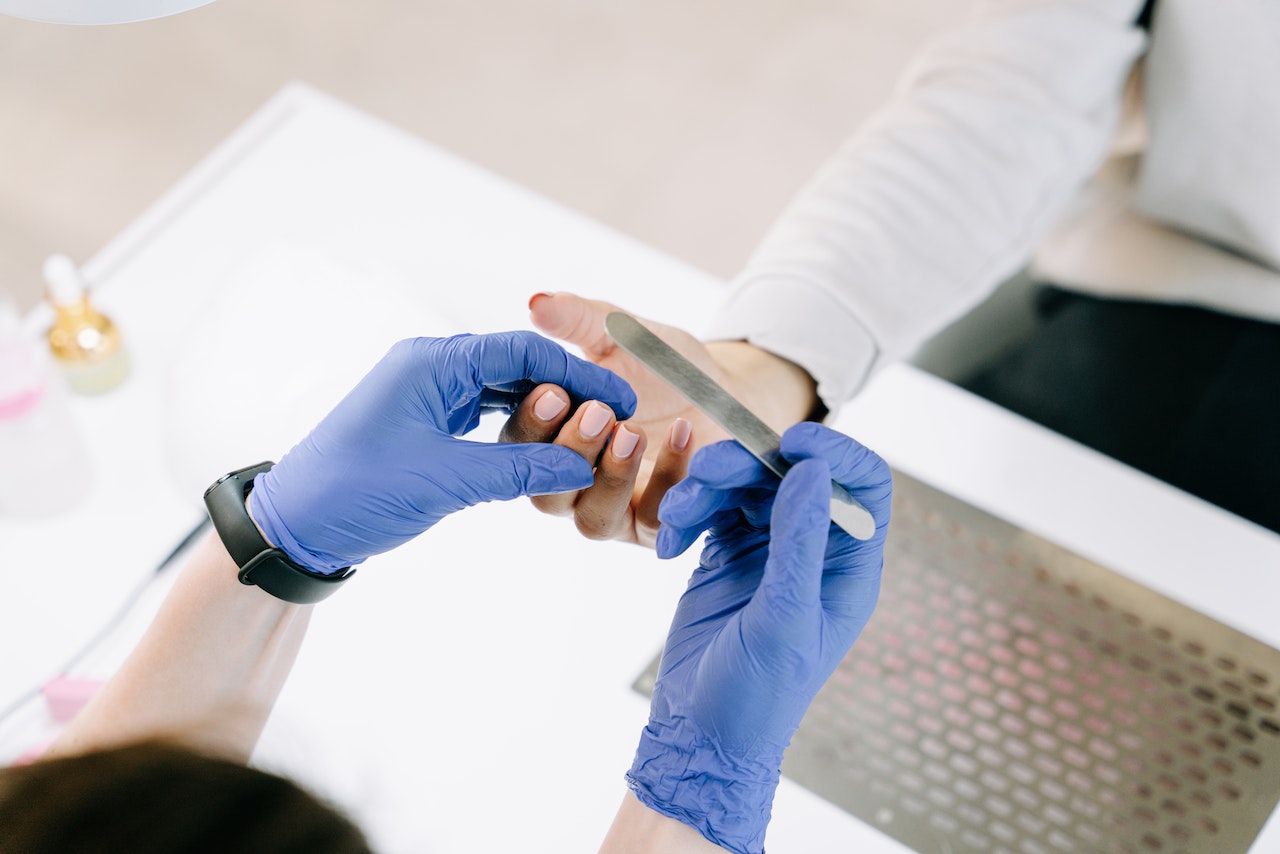
10. Shape The Tips
When the acrylic has dried, shape the tips and file them to the desired length using a coarse nail file. Acrylic nails may be filed into a variety of intriguing designs, including square, squoval, almond-shaped, and even the pointed, claw-like stiletto shape.
Tips
- You might wish to start with square tips because you can simply adjust their form.
- Do not file your nails too near to the stress area. This is the point at which the nail joins your natural nail. This may increase the likelihood of breaking, just file along the acrylics' free edges.
- If you have rounder cuticles, a round shape will look best on you. If your cuticles are slightly square, however, a square shape might be perfect.
- Square nails may make broader fingers appear wider. Squround, squoval, oval, or round nails look excellent on almost everyone. Nails with coffin or oval shapes might make your fingers appear longer and thinner.
- Remember to use a little brush to remove any extra nail dust created by the drill so it does not mix with the nail paint.
11. Paint Your Nails
You can apply a clear coat of polish or paint them with colorful nail polish. To achieve a smooth, uniform surface, apply the polish to the whole nail.
Tips
- To do your nail art, you'll need a little brush. It should be thin enough to fit into your nail and produce little strokes, but not so fine that you can't use large swabs of paint.
- Once the paint is applied, you may create lines and designs using a toothpick or other pointed instrument.
👉DISCLAIMER: This blog post contains some affiliate links, which means the creators earn a little something when you buy through the link or links.
.jpg)
.jpg)


.jpg)


Comments
Post a Comment